18611994737

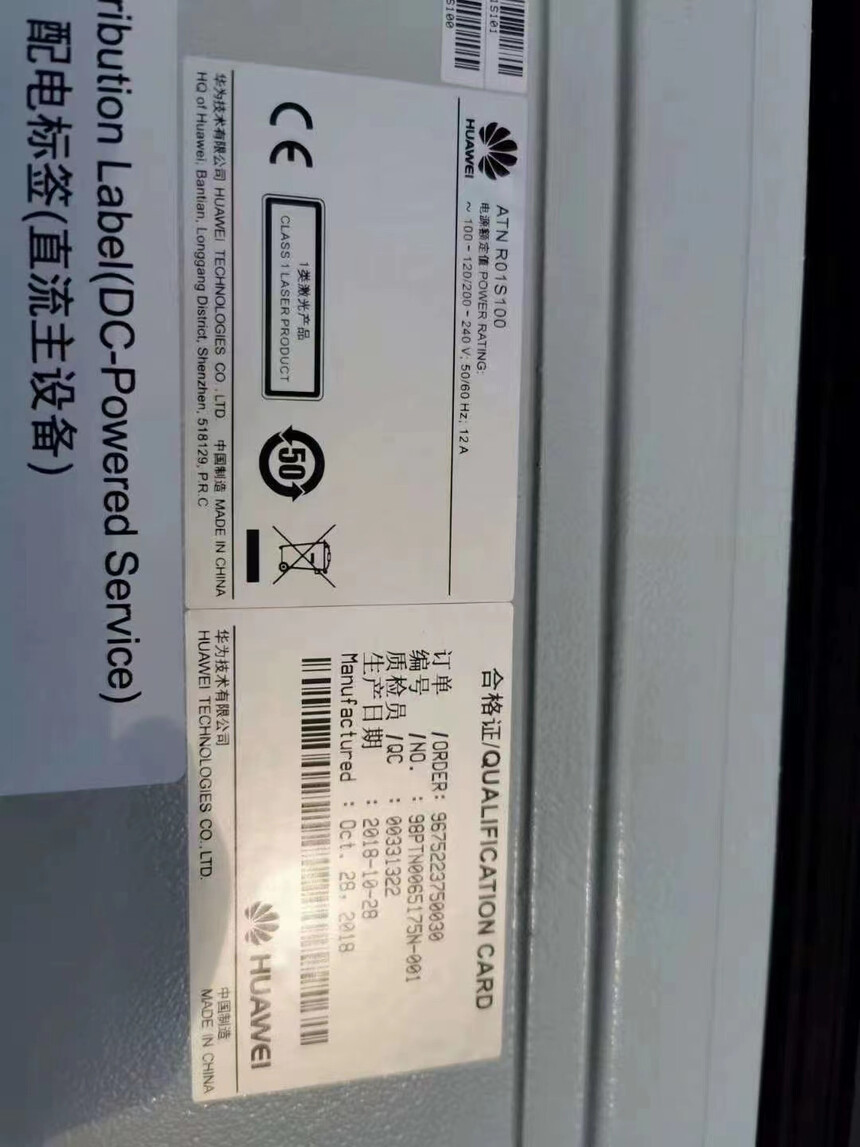
首页 >> 产品中心 >>华为室外柜 >> 华为ATN R01S100室外传输设备一体化电源柜,5G通信基站电源
详细说明

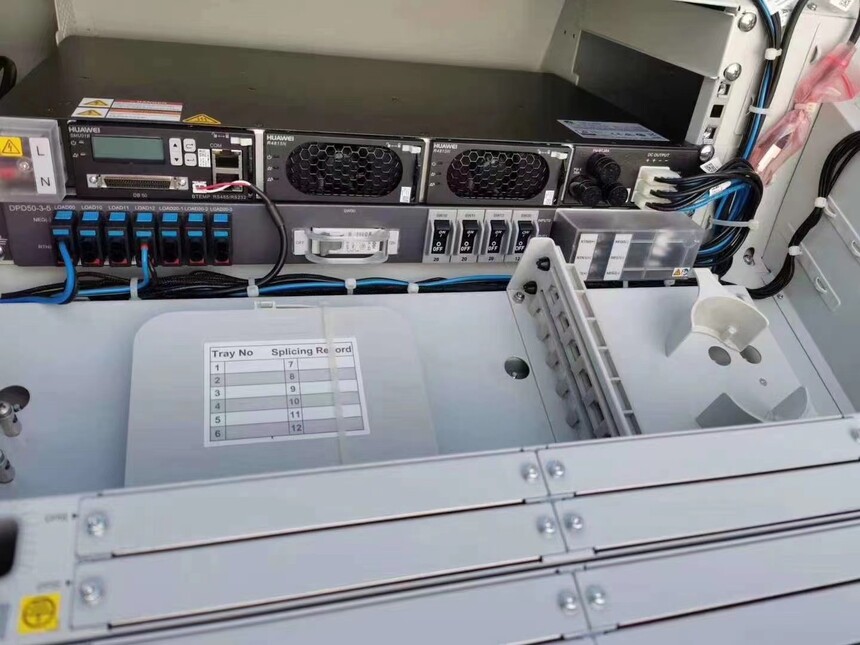
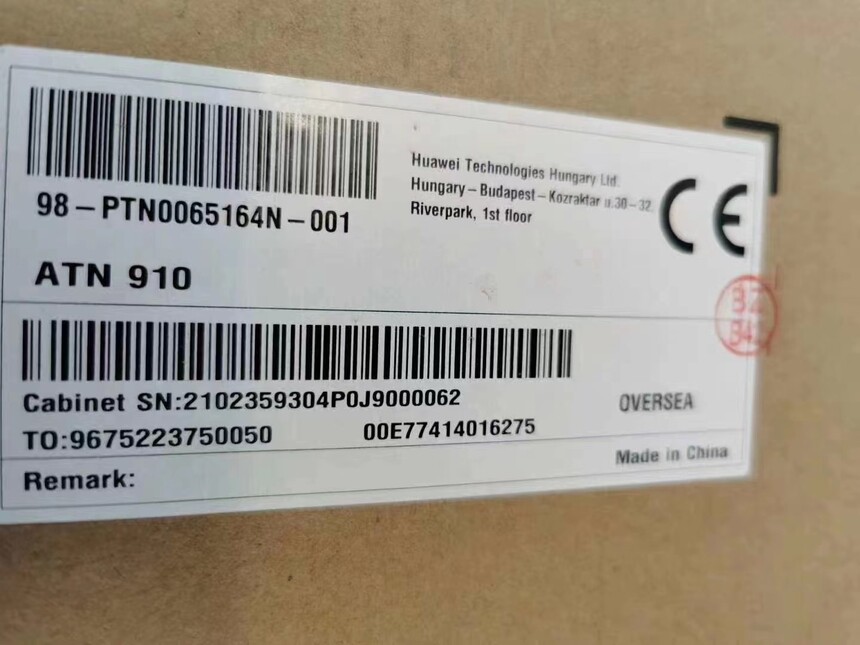
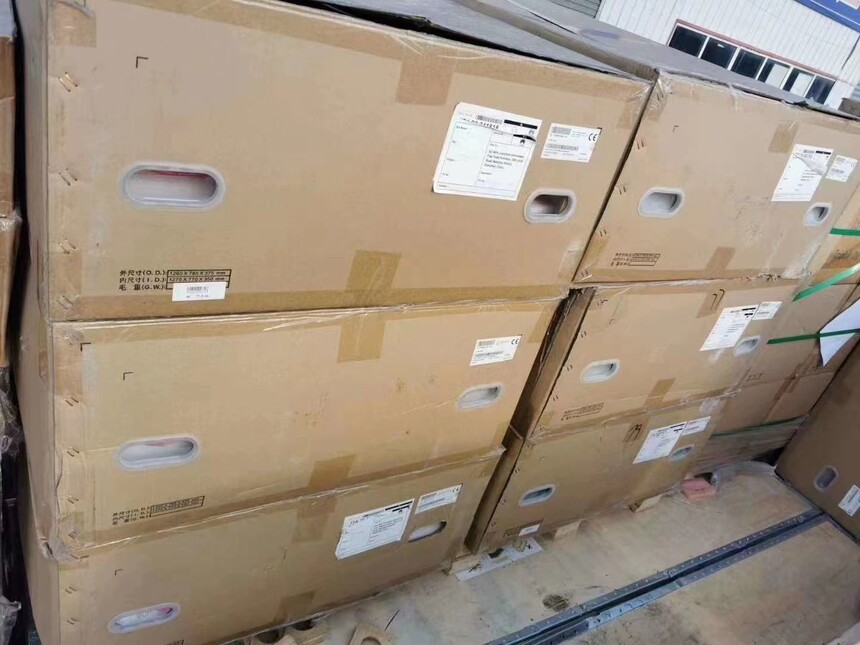
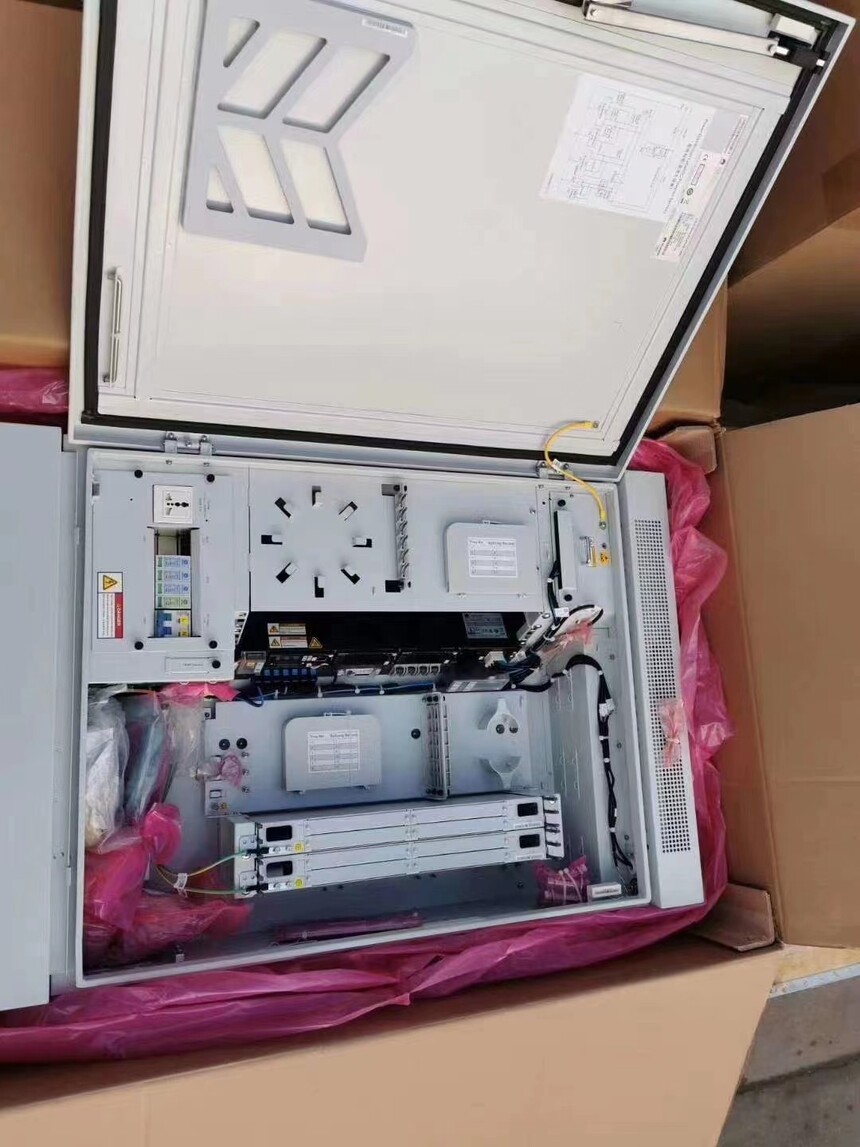
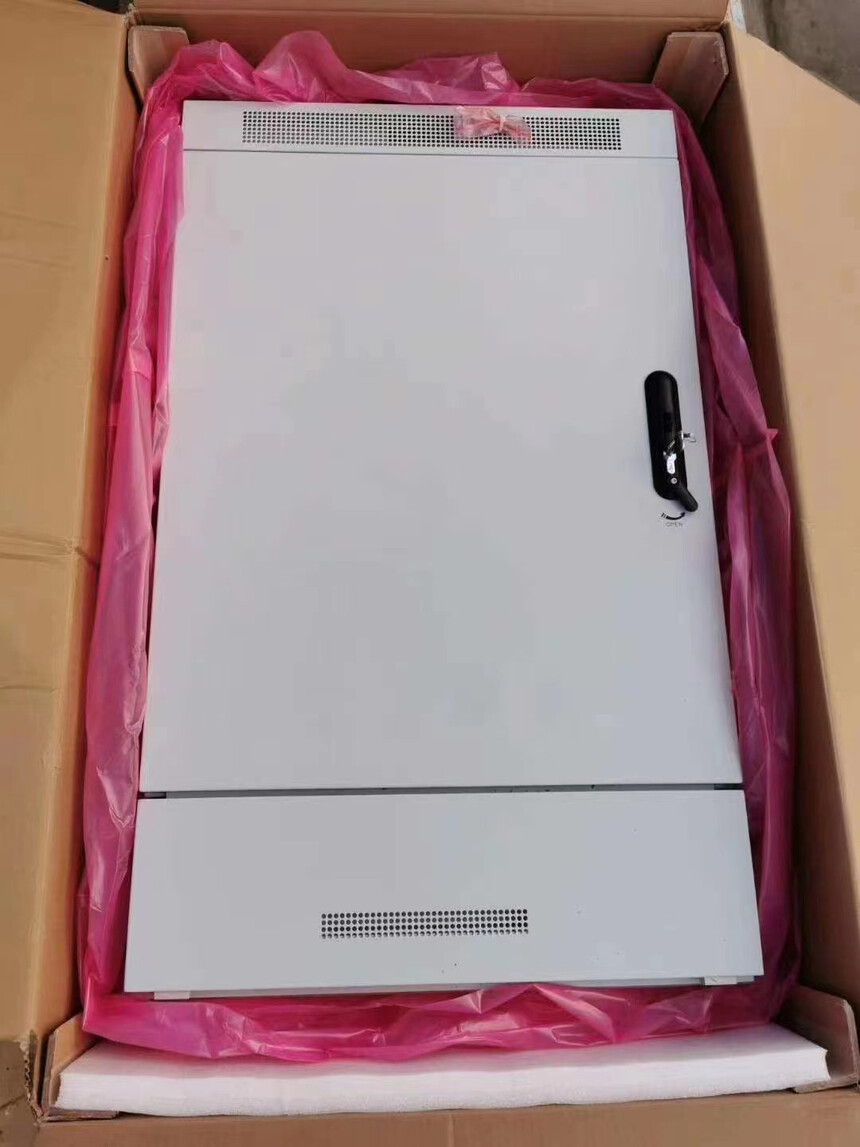
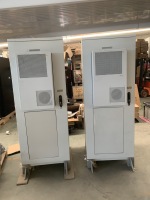
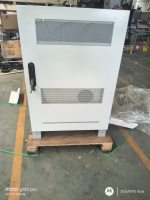
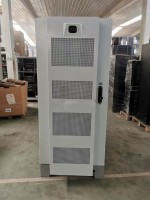
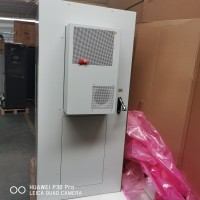
华为ATN R01S100室外传输设备一体化电源柜,5G通信基站电源

暂无价格
  • 产品说明
  • 产品参数

华为ATN R01S100室外传输设备一体化电源柜,5G通信基站电源

《华为ATN R01S100四大场景户外传输电源柜、华为集成电源柜和华为通信电源安装指南》
1.ATN R01S100壁挂式安装
1.规划安装位置
2.安装壁挂式紧固件
使用冲击钻钻孔时,应保持钻头与墙壁垂直,双手紧握钻柄,把握方向,不要摇晃,以免损坏墙壁,导致钻孔倾斜。
① 划线
② 钻井
③ 安装膨胀螺栓
④ 整体安装
3.固定式机柜
二、ATN R01S100电杆安装柜
1.规划位置
2.安装抱杆固定件
3.固定式机柜
三、 水泥安装
四、 高架平台的安装

Installation Guide for Huawei ATN R01S100 Outdoor Transmission Power Cabinet in Four Major Scenarios, Huawei Integrated Power Cabinet, and Huawei Communication Power Supply
1. ATN R01S100 wall mounted installation
1. Plan installation location
2. Install wall mounted fasteners
When using an impact drill to drill holes, keep the drill bit perpendicular to the wall, hold the drill handle tightly with both hands, grasp the direction, and do not shake to avoid damaging the wall and causing the hole to tilt.
① Scribe
② Drilling
③ Install the expansion bolt
④ Overall installation
3. Fixed cabinet
II. ATN R01S100 Pole Installation Cabinet
1. Planned location
2. Install the fixing parts of the holding pole
3. Fixed cabinet
III. Cement installation
IV. Installation of Elevated Platforms

华为ATN R01S100室外传输设备一体化电源柜,5G通信基站电源

《华为ATN R01S100四大场景户外传输电源柜、华为集成电源柜和华为通信电源安装指南》
1.ATN R01S100壁挂式安装
1.规划安装位置
2.安装壁挂式紧固件
使用冲击钻钻孔时,应保持钻头与墙壁垂直,双手紧握钻柄,把握方向,不要摇晃,以免损坏墙壁,导致钻孔倾斜。
① 划线
② 钻井
③ 安装膨胀螺栓
④ 整体安装
3.固定式机柜
二、ATN R01S100电杆安装柜
1.规划位置
2.安装抱杆固定件
3.固定式机柜
三、 水泥安装
四、 高架平台的安装

华为ATN R01S100室外传输设备一体化电源柜,5G通信基站电源

《华为ATN R01S100四大场景户外传输电源柜、华为集成电源柜和华为通信电源安装指南》
1.ATN R01S100壁挂式安装
1.规划安装位置
2.安装壁挂式紧固件
使用冲击钻钻孔时,应保持钻头与墙壁垂直,双手紧握钻柄,把握方向,不要摇晃,以免损坏墙壁,导致钻孔倾斜。
① 划线
② 钻井
③ 安装膨胀螺栓
④ 整体安装
3.固定式机柜
二、ATN R01S100电杆安装柜
1.规划位置
2.安装抱杆固定件
3.固定式机柜
三、 水泥安装
四、 高架平台的安装

Installation Guide for Huawei ATN R01S100 Outdoor Transmission Power Cabinet in Four Major Scenarios, Huawei Integrated Power Cabinet, and Huawei Communication Power Supply
1. ATN R01S100 wall mounted installation
1. Plan installation location
2. Install wall mounted fasteners
When using an impact drill to drill holes, keep the drill bit perpendicular to the wall, hold the drill handle tightly with both hands, grasp the direction, and do not shake to avoid damaging the wall and causing the hole to tilt.
① Scribe
② Drilling
③ Install the expansion bolt
④ Overall installation
3. Fixed cabinet
II. ATN R01S100 Pole Installation Cabinet
1. Planned location
2. Install the fixing parts of the holding pole
3. Fixed cabinet
III. Cement installation
IV. Installation of Elevated Platforms


电话直呼
在线客服
在线留言
发送邮件
联系我们:
18611994737
客服1
点击这里给我发消息
还可输入字符250(限制字符250)
技术支持: 建站ABC | 管理登录
×
seo seo